Exchange 2016 Installation on Server 2012 R2
- Radhakrishnan Govindan
- Jul 29, 2015
- 2 min read
In this Article, I will walk you through the Exchange 2016 Installation on Windows Server 2012 R2.
It is very exited to have a look of Exchange 2016 installation. Okay, Let’s Begin
There would be three phases to install Exchange 2016,
Prepare Forest and Domain
Installing all the prerequisites required for exchange 2016
Installing Exchange 2016
Post the installation we will be having all the post installation checks for checking the Exchange Service health and Mail flow
Phase 1:Prepare Forest and Domain:
Mount the Exchange 2016 DVD in the server
To prepare the Forest/Domain, You can login in to the Domain controller or use the same server where you going to install Exchange 2016.
You should be Enterprise admin/Schema Admin to prepare the Schema
Here I am running the command on the server where I am going to install exchange 2016 since it is testlab.
Run the Command
.\setup /PrepareSchema /IAcceptExchangeServerLicenseTerms

Run the Command
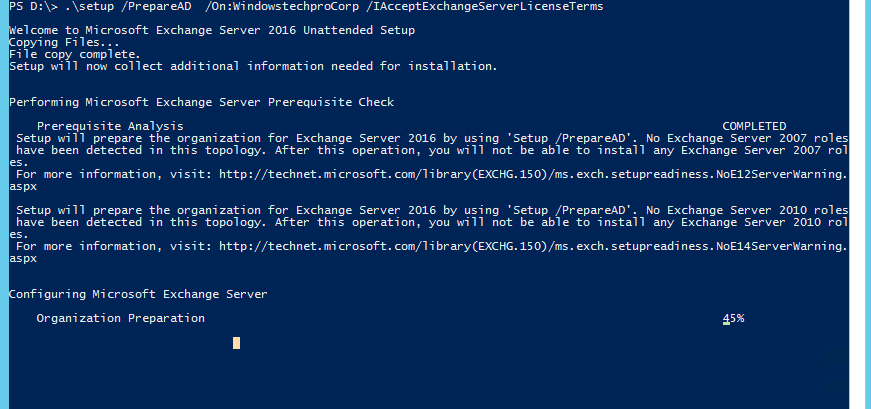
.\setup /PrepareAD /on:windowstechpro /IAcceptExchangeServerLicenseTerms


Run the Command
.\setup /Preparedomain /IAcceptExchangeServerLicenseTerms

Phase 2: Installing all the prerequisites required for exchange 2016
Login in to the server and Open the PowerShell as Run as administrator

Copy the command and paste it in PowerShell and Execute
Install-WindowsFeature RSAT-ADDS,AS-HTTP-Activation, Desktop-Experience, NET-Framework-45-Features, RPC-over-HTTP-proxy, RSAT-Clustering, RSAT-Clustering-CmdInterface, RSAT-Clustering-Mgmt, RSAT-Clustering-PowerShell, Web-Mgmt-Console, WAS-Process-Model, Web-Asp-Net45, Web-Basic-Auth, Web-Client-Auth, Web-Digest-Auth, Web-Dir-Browsing, Web-Dyn-Compression, Web-Http-Errors, Web-Http-Logging, Web-Http-Redirect, Web-Http-Tracing, Web-ISAPI-Ext, Web-ISAPI-Filter, Web-Lgcy-Mgmt-Console, Web-Metabase, Web-Mgmt-Console, Web-Mgmt-Service, Web-Net-Ext45, Web-Request-Monitor, Web-Server, Web-Stat-Compression, Web-Static-Content, Web-Windows-Auth, Web-WMI, Windows-Identity-Foundation

Post installation, Reboot the Server by using command restart-computer or Shutdown -r -t 0

Post reboot, Install .NET Framework 4.5.2. You can download it from the Download Link


Install Unified Communications Managed API 4.0 Runtime. You can download it from the Download Link


Phase 3: Installing Exchange 2016
Mount the Exchange 2016 Setup drive and Click on Install or run Program from your media

You can check for Updates if your server connected to internet or you select Don’t check for updates right now. I am going with second option since i have not connected my server to internet. It is always good to check for the updates before installing the Exchange.


Accept the License Agreement and Click Next

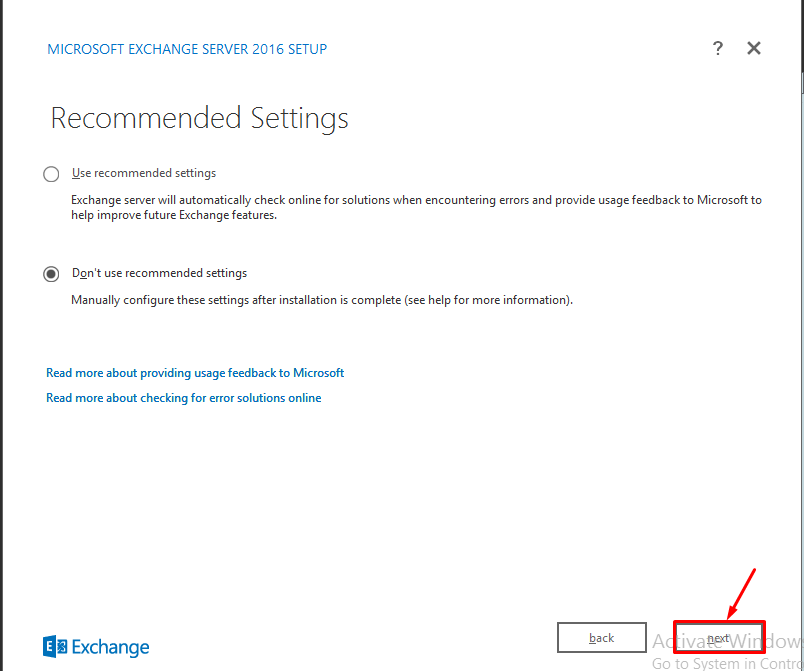
Select second option and Click Next

Select Mailbox Role and Management tools, You can go for Edge Transport role if you are placing it in DMZ for Outbound Mail Routing.

Select the path for Exchange server Installation and Click Next


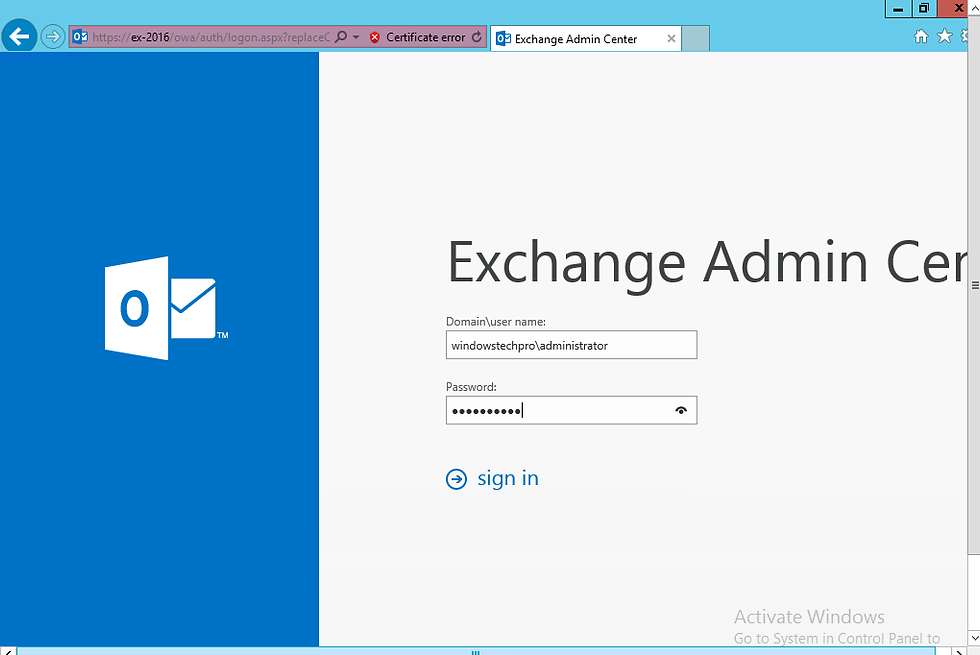
Setup Completed Successfully. Select Launch Exchange Administration Center and Click On Finish. Enter Administrator Credentials and Click Sign in

You can the Exchange 2016 EAC. It is pretty Cool.. Isn’t it??

Run the Exchange PowerShell Command to get the Exchange Version
Get-ExchangeServer |Format-Table Name,AdminDisplayVersion


Comments