How to Create a Scope in DHCP Server
- Radhakrishnan Govindan
- Mar 30, 2017
- 1 min read

In this article we see how to configuring DHCP Scope on Windows Servers, Creating a New Scope Open DHCP console.

From the tree on the left side of the console, expand the DHCP server’s hostname node. Select IPv4 and click new scope.

Click Next for New scope wizard

Type a Scope name for identifying the scope IP address and Click Next

Enter the starting and Ending IP address Ranges and Subnet Mask as lengths of bit size and Click Next.

On the Add Exclusions and Delay screen, we can set IP addresses from within the range we defined that should be excluded any IP Addresses. For example, if our range includes the IP address of our network gateway, we probably do not want our clients to use it, so we would add its IP address to the exclusion list and Click Next.

Select Lease Duration is used for how long user can limited of days keep IP address and Click Next

Click on Next for configure the DHCP Options.

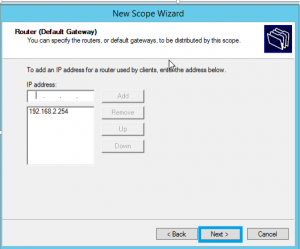
Add a Default Gateway Router for assign IP address for Clients and Click Next
Add servers name for assign a DNS server and Click Next

Click Next to activate a scope

Click Finish

After configured scope you open and see in DHCP server IPv4 IP address are activated or not.


Comments